28/8/17 - Week 1
Ashila Putri Sandi (0332938)
Digital Imaging and Visualisation
Introduction : Adobe Photoshop
Photoshop creates an artist's/designer's virtual studio. This software is different from other common software interfaces which emulate virtual typewriters graphing paper.
On our first session in Digital Imaging and Visualisation class we were introduced to Photoshop and basic knowledge about the software, also we were taught about how to make a new project/document, some shortcuts and the basic tools that are commonly used. Those tools are brush tool, clone stamp tool, eyedropper tool, etc. Thus, we were instructed to search for a black and white image and colour it up with brush tool and a touch of blending mode. Also for the final touch we used clone stamp and eyedropper tool.
 |
Img 1.1 Original B/W Image of an old Sherburne's Jewelers Store
|
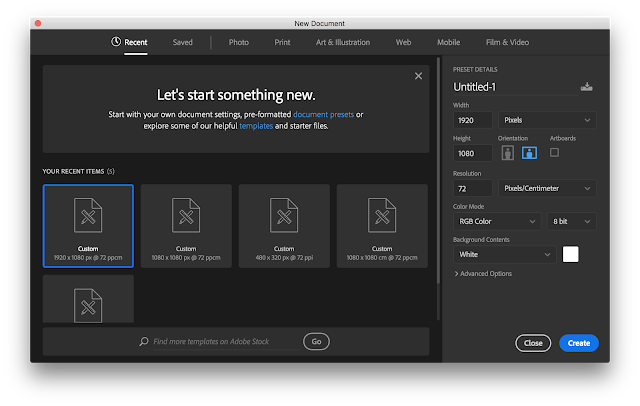 |
Img 1.2 Making a new costume document
|
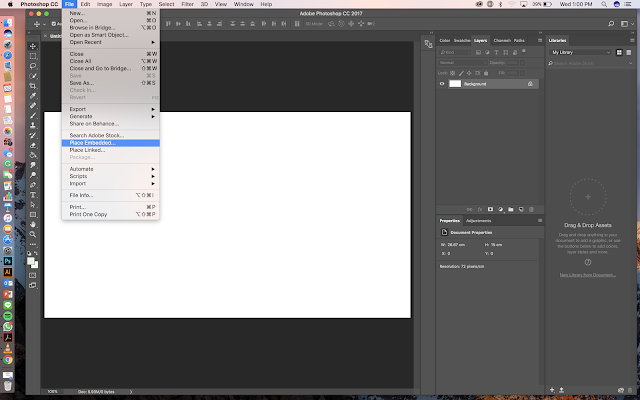 |
| Img 1.3 Select File > Place Embedded to insert the image |
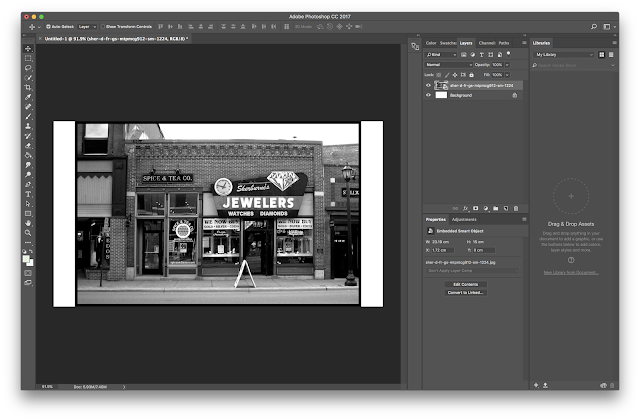 |
| Img 1.4 The image appears, need to resize the image |
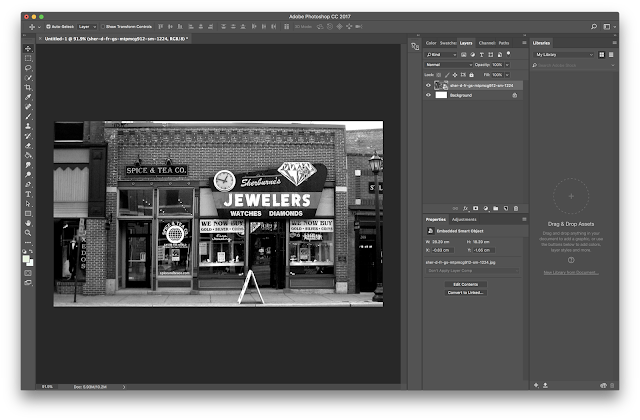 |
| Img 1.5 After the image being re-sized |
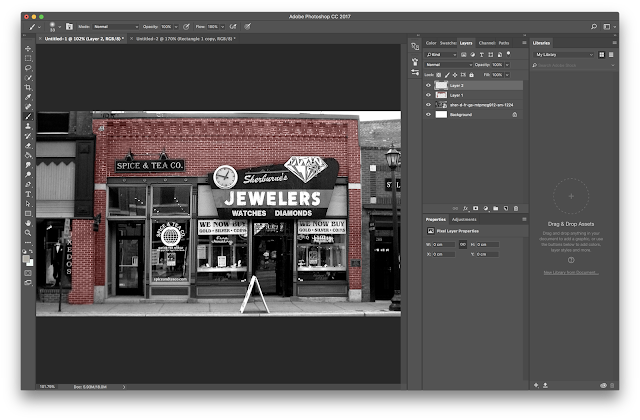 |
| Img 1.6 Make another layer and rename it, then colour the bricks with brush tool and choose the blending mode |
 |
| Img 1.7 Make another layer colour the sign |
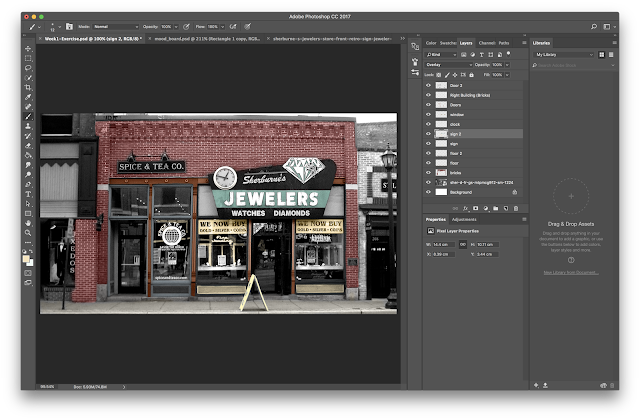 |
| Img 1.8 Make another layer and colour another object |
Img. 1.9 Almost fully coloured
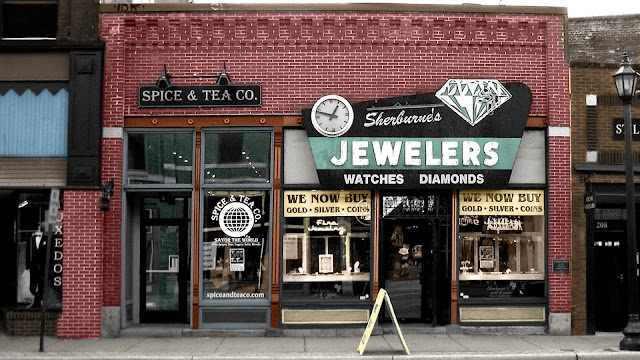 |
The final look
The colours that I used were inspired by some pictures I found on the internet. Before colouring the image, I made a mood board for the colour scheme.
|


Comments
Post a Comment